


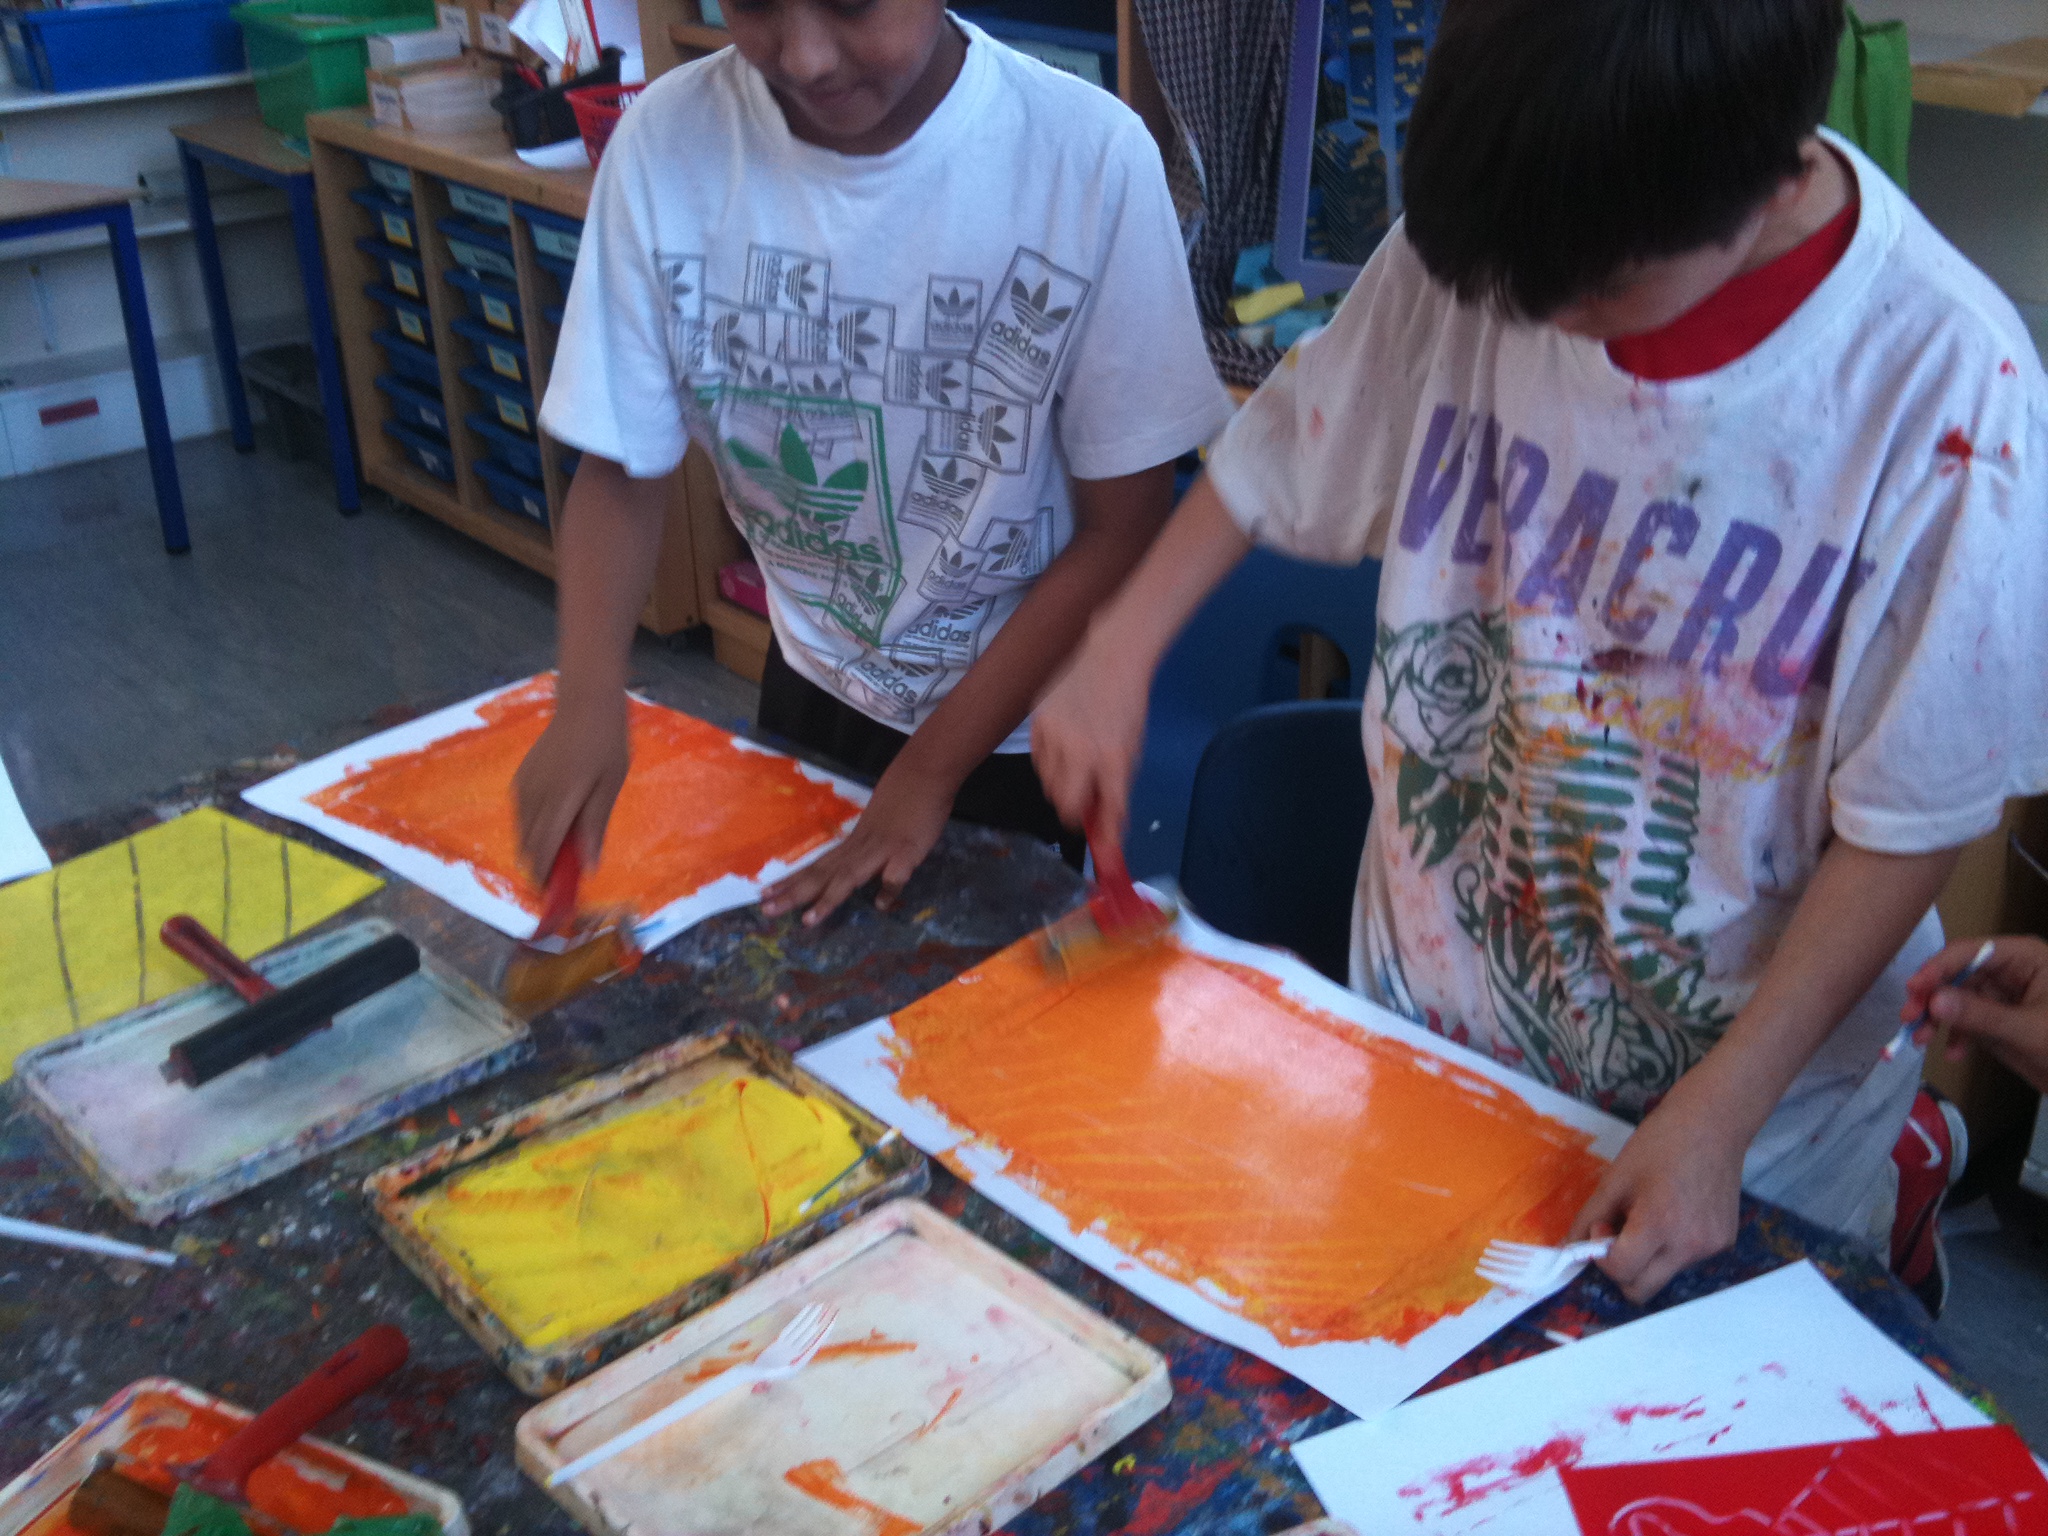
Paint trays and rollers for making mono-prints

Prepare the area for printing. Cover the tables securely and provide several flat trays of colour. These can be the colour mixing trays that most schools have. If not, disposable foil cooking trays can also be used or any other clean plastic trays. Keep colours separate initially (although great effects can be created by marbling the paint as you pour it in)
Put the trays of paint into the middle of the table with 2 rollers per colour. Provide a working space for each pupil that will be printing. If using clear acetate sheets or plastic it is a good idea to put a scrap piece of white paper underneath the acetate sheets so that pupils can see the design that they are making.


Provide each child with a sheet of plastic with which to create their design. Pupils cover the plastic with a layer of paint using a roller. The whole of the plastic sheet needs to be covered with paint, right up to the corners.
Once the layer of paint has been added, pupils can create their designs. For young children it is good to start with simple patterns. For example, "Can you create stripes? Swirls? Circles?" If pupils want to change their design, the plastic sheet can be 'rollered' again, to create a fresh base for making the design.
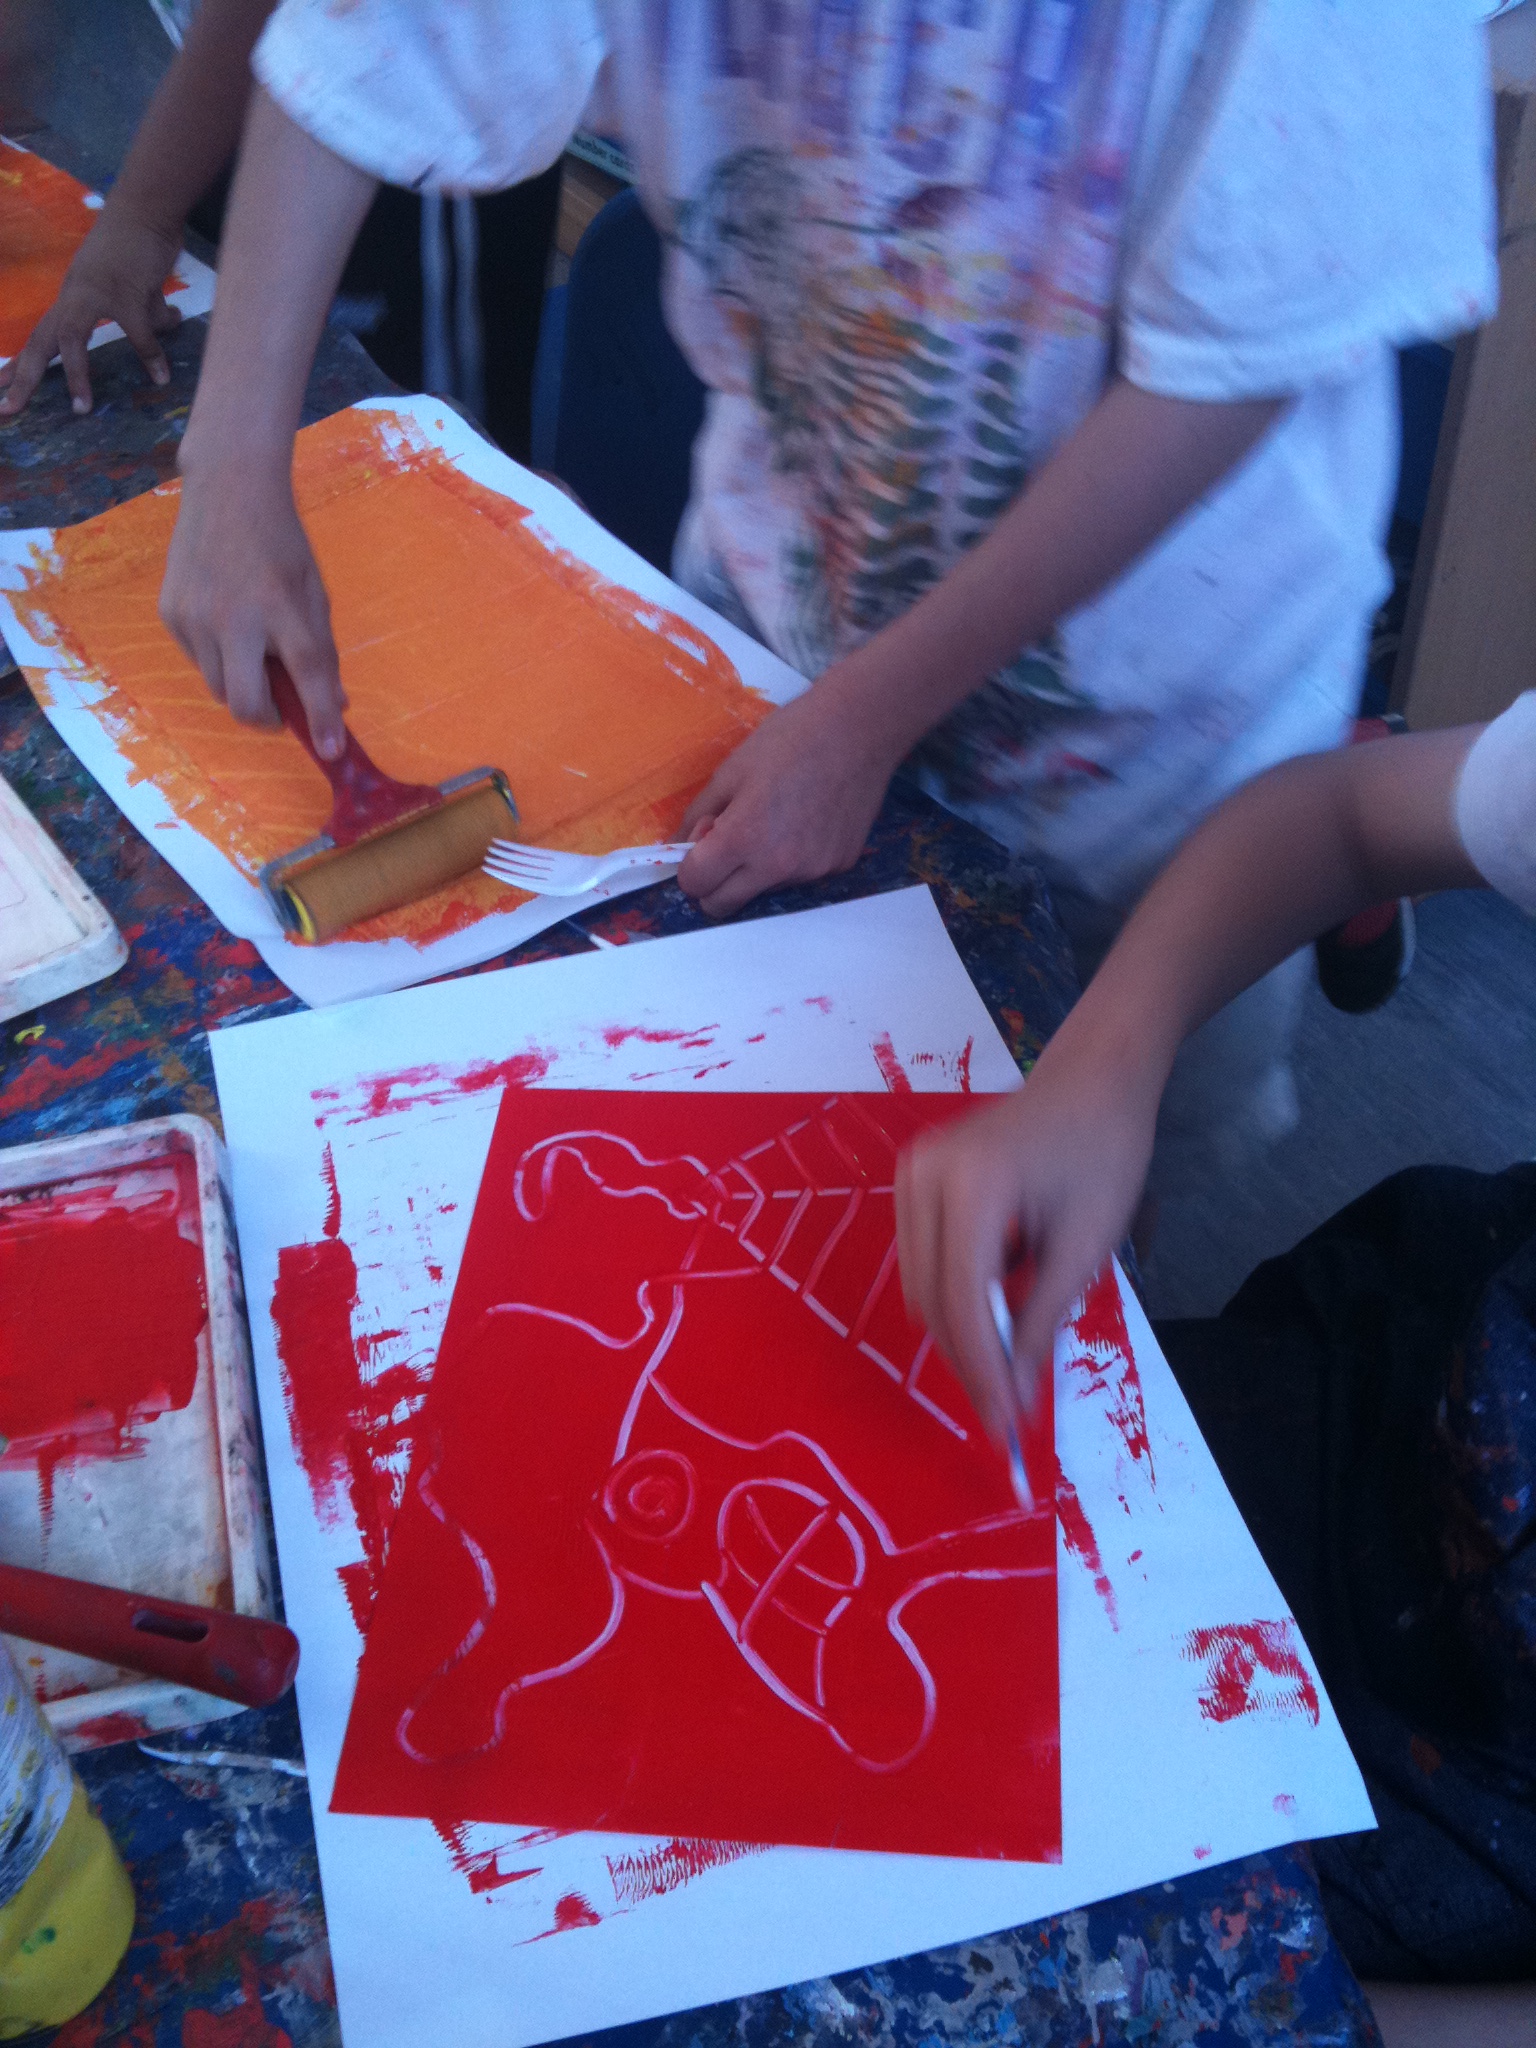
Pupils creating mono-print designs using cotton buds
Finally when the design is ready, a piece of paper is placed over the top to make the print. Carefully add the paper and do not move it around as this will smudge the design. The paper can be gently 'rollered' with a clean roller, to assist with picking up the design. When done, carefully peel back the paper starting from one corner. The mono print will now be on the paper!

