

Clay Tiles made by Year 1 pupils
Provide each child with approx 400-500g of clay. Prior to the class, prepare 30 square pieces of paper cut to 12cm by 12cm in size (they can be slightly bigger if required)
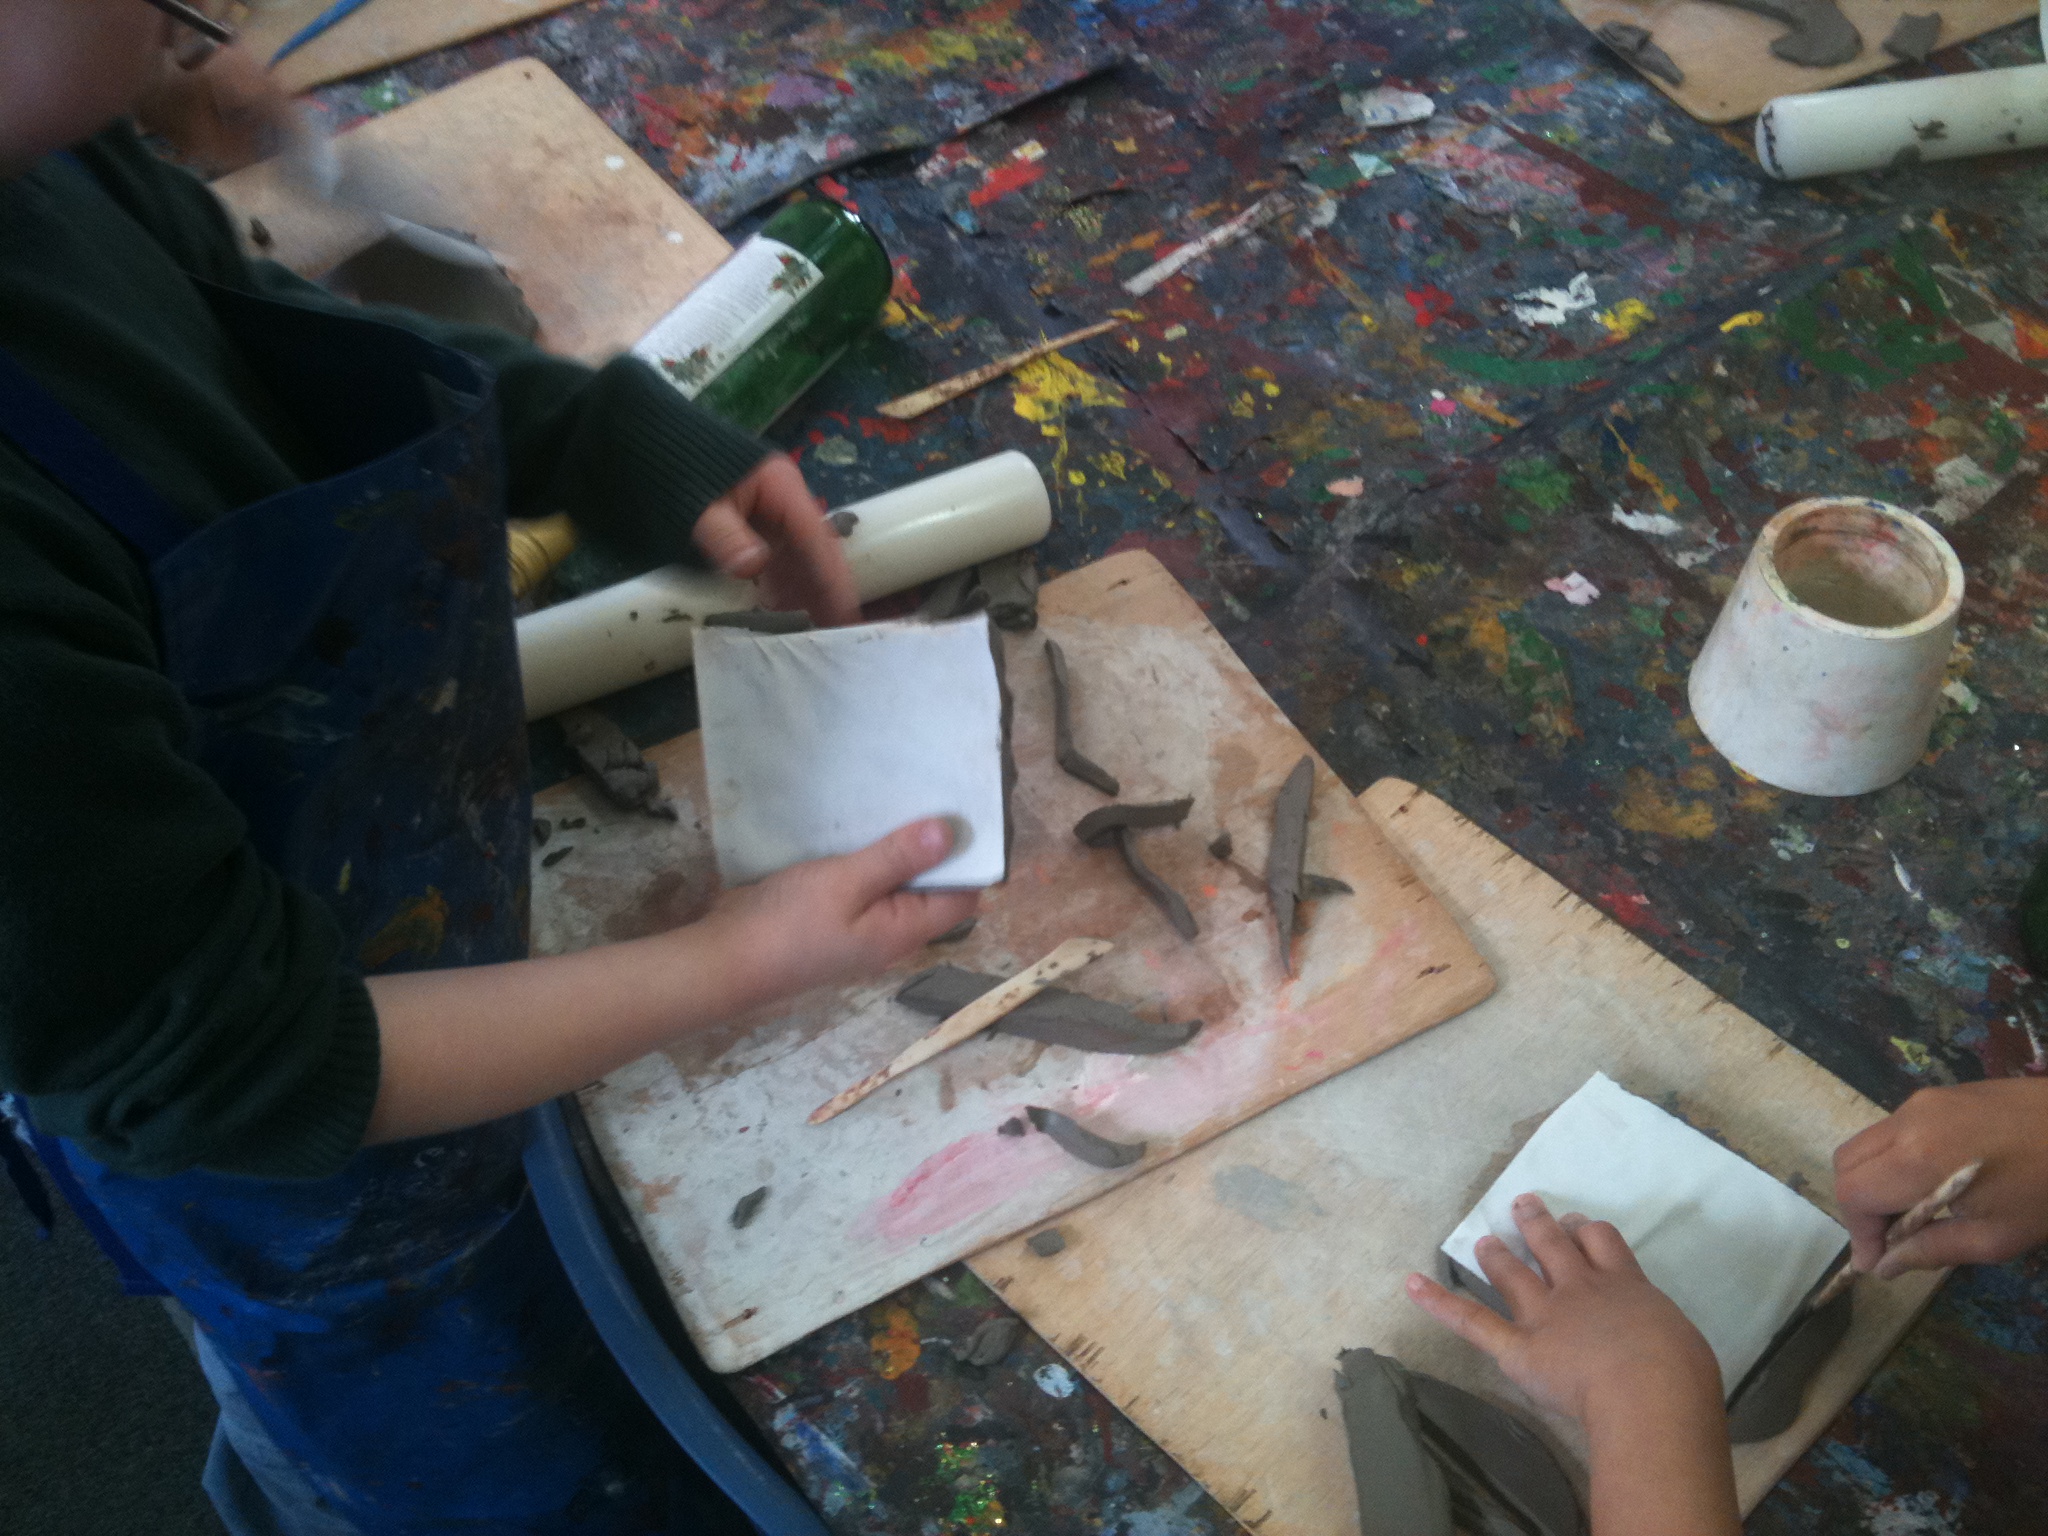
Each child must begin by using the rolling pin to flatten out the clay. It must not be too thin or it will crack! The tile should be at least 1cm thick. When ready, the square paper template should be placed over the flattened clay. This will be the template for the tile shape. Pupils must carefully cut around the edge of the paper template so that they have their square tile ready for decorating. The cut off pieces of clay can be used to create the shapes to add to the tile.
Cutting around the square tile template
Pupils can then cut out shapes to attach to the tile. This must be done very carefully as because air drying clay is being used, as it dries air will push apart the two pieces of clay unless they are securely attached to each other. In other words, the added pieces will fall off when dry, unless securely attached.

For this reason, water must be added to the bottom of the shape to be added (this would be the fish shape if using the example above) and also to the tile itself. Adding a tiny bit of water creates a sticky surface which enables the two pieces to stick. Ask pupils to put water on to the bottom of the shape and water on to the tile using their fingertips only, in a circular motion to make the two surfaces sticky.
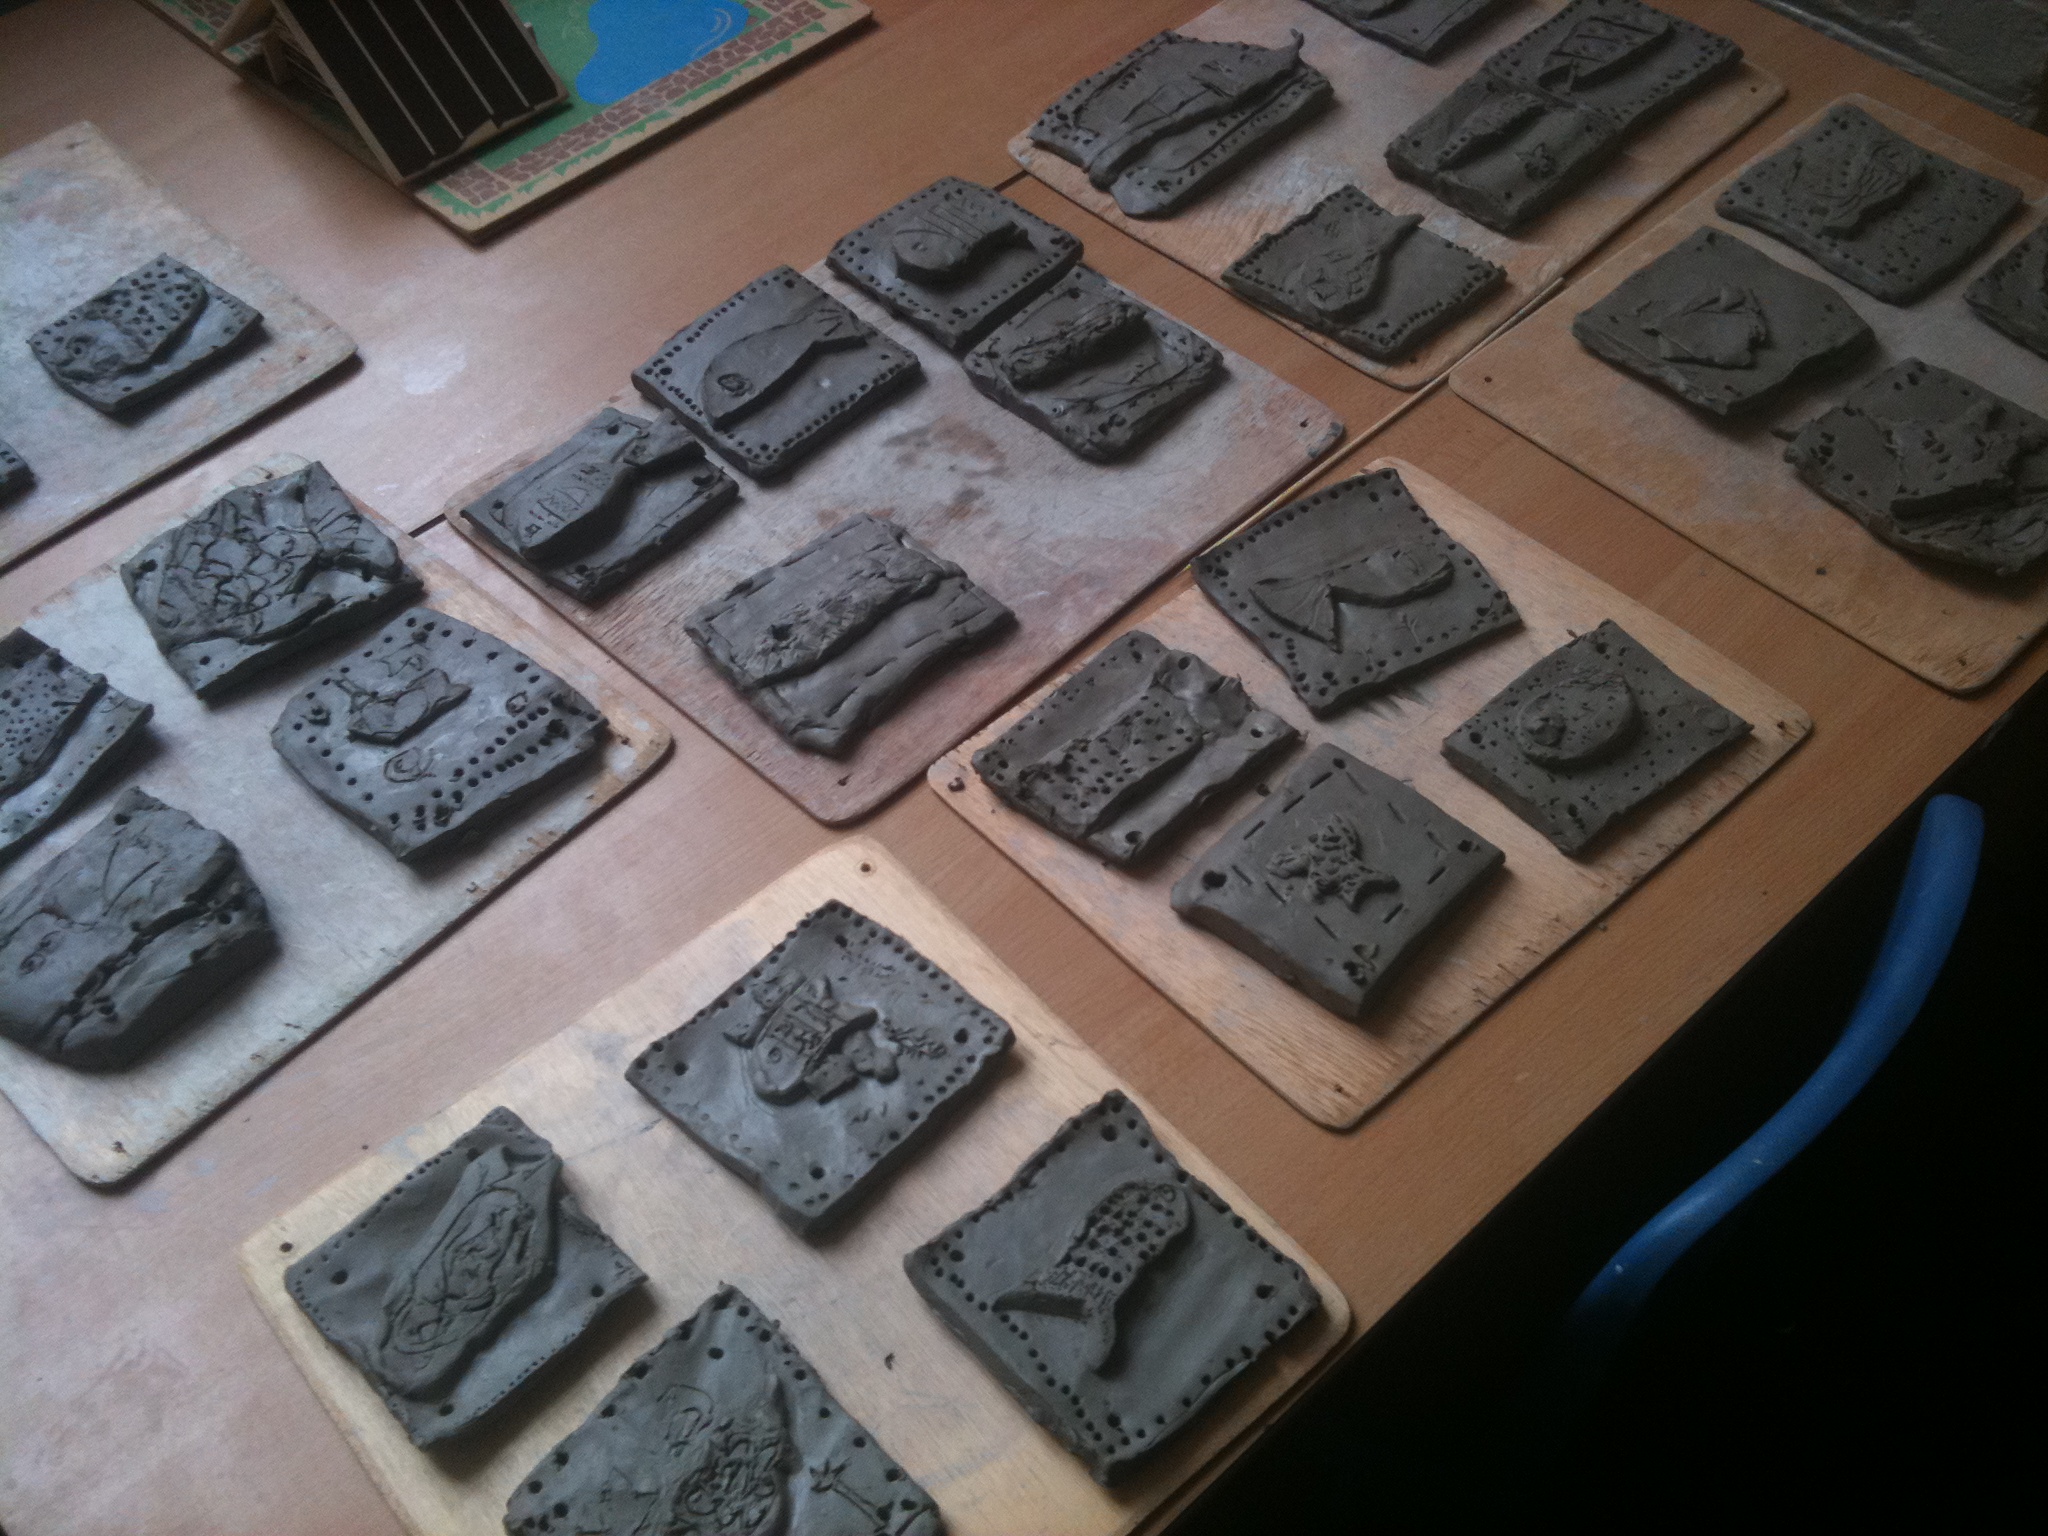
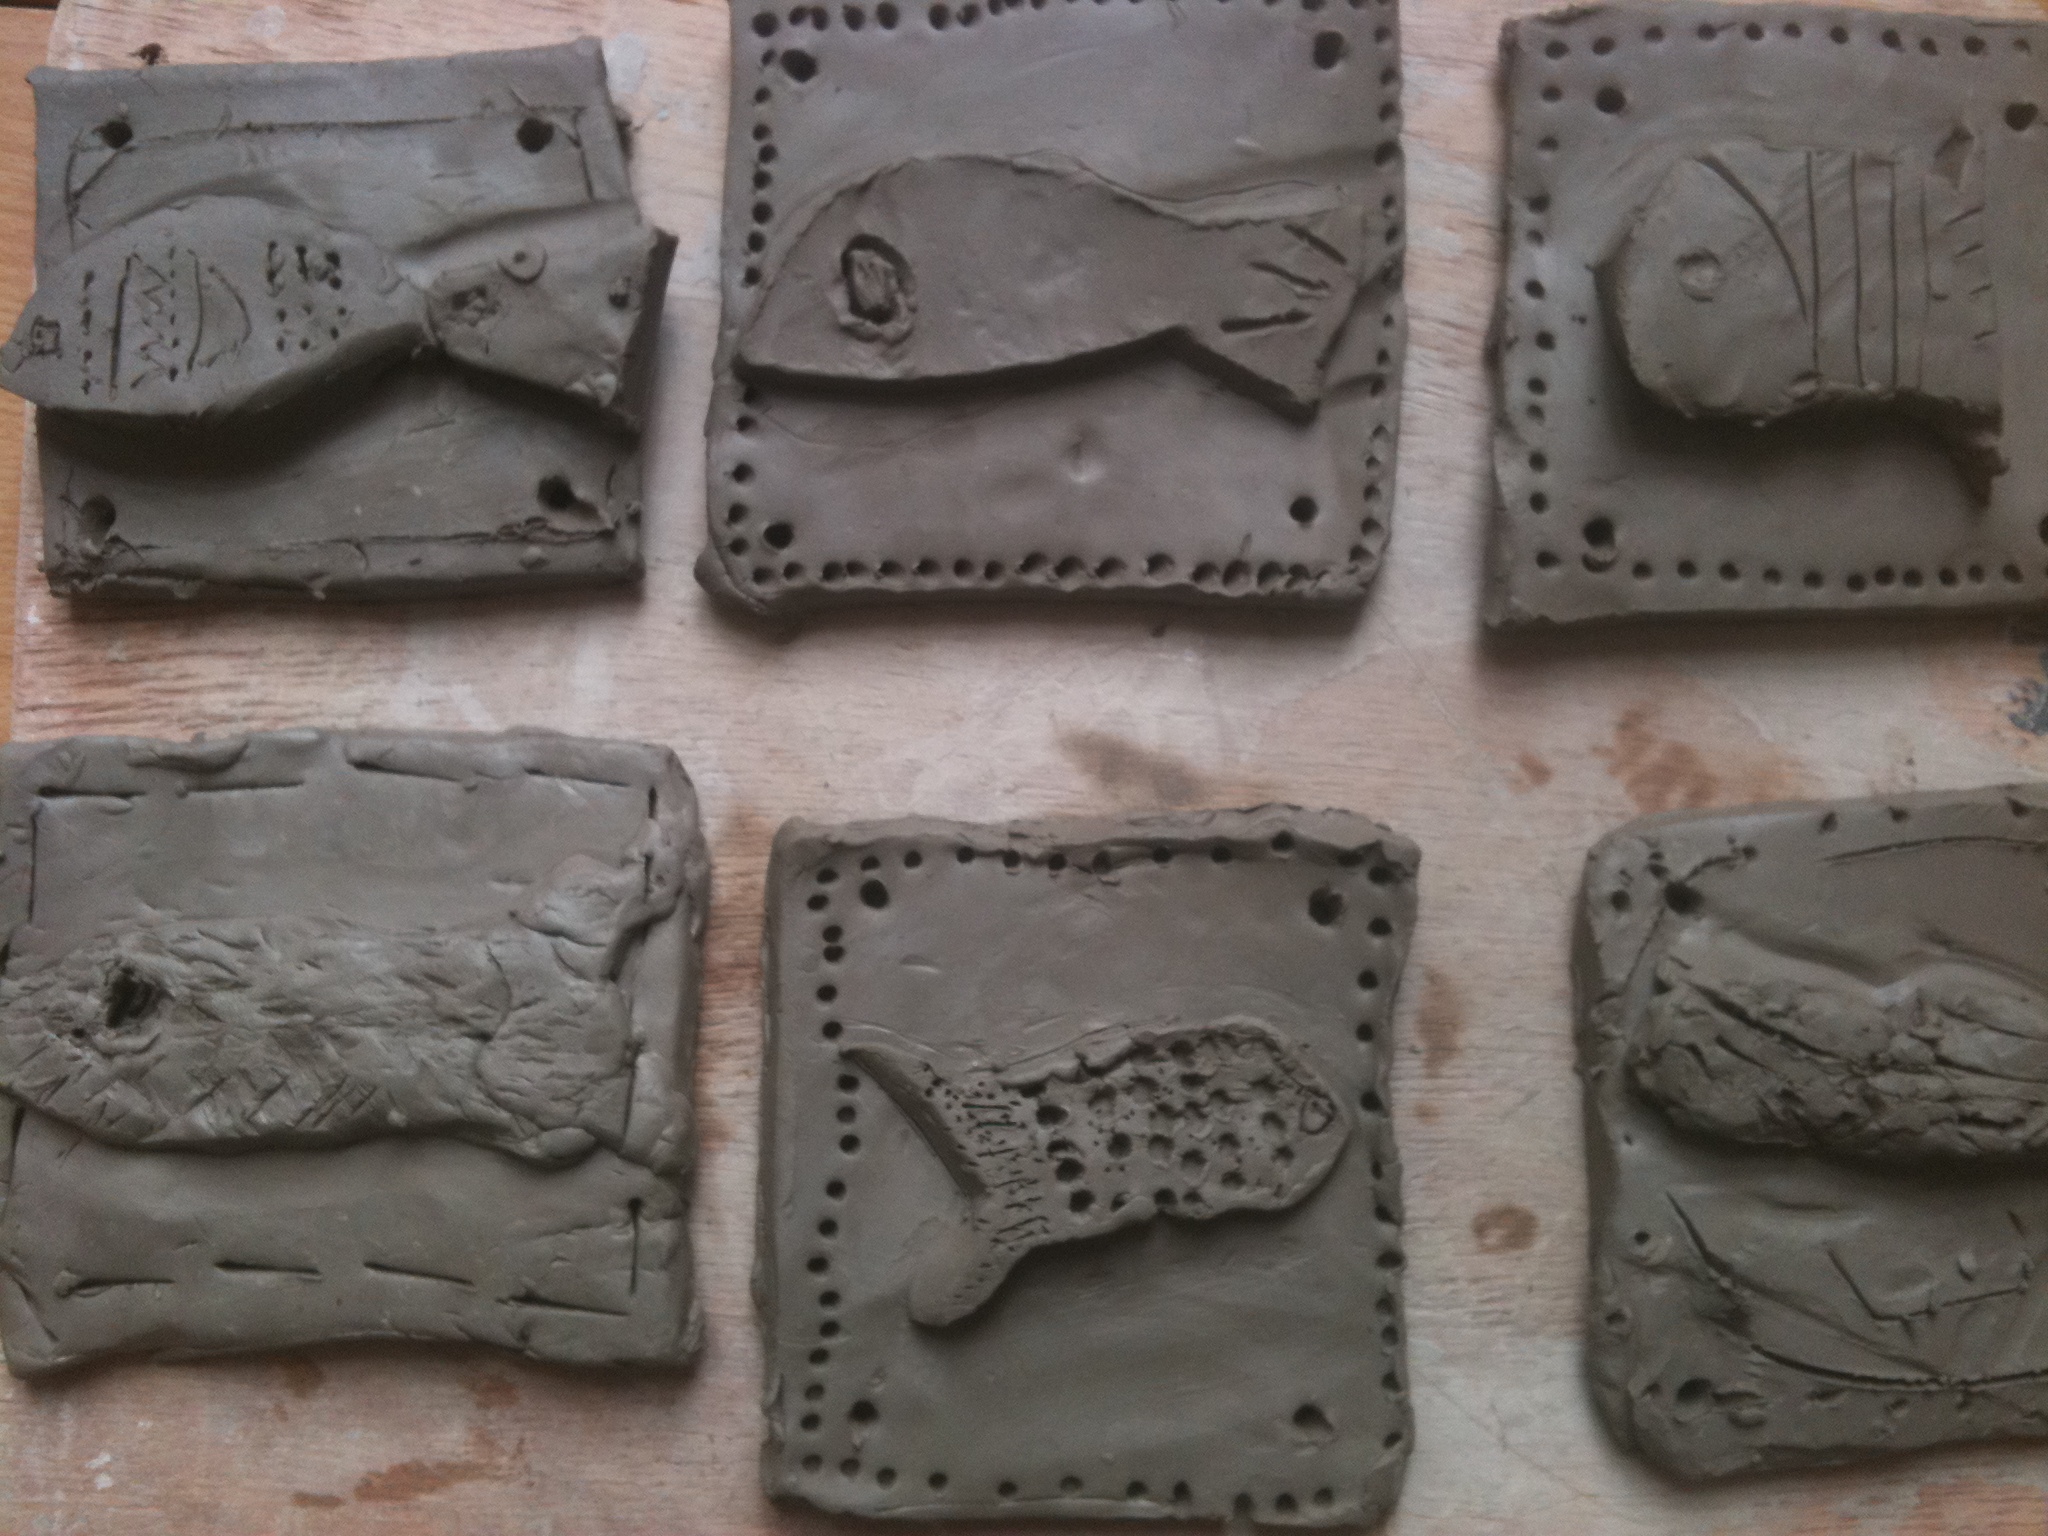
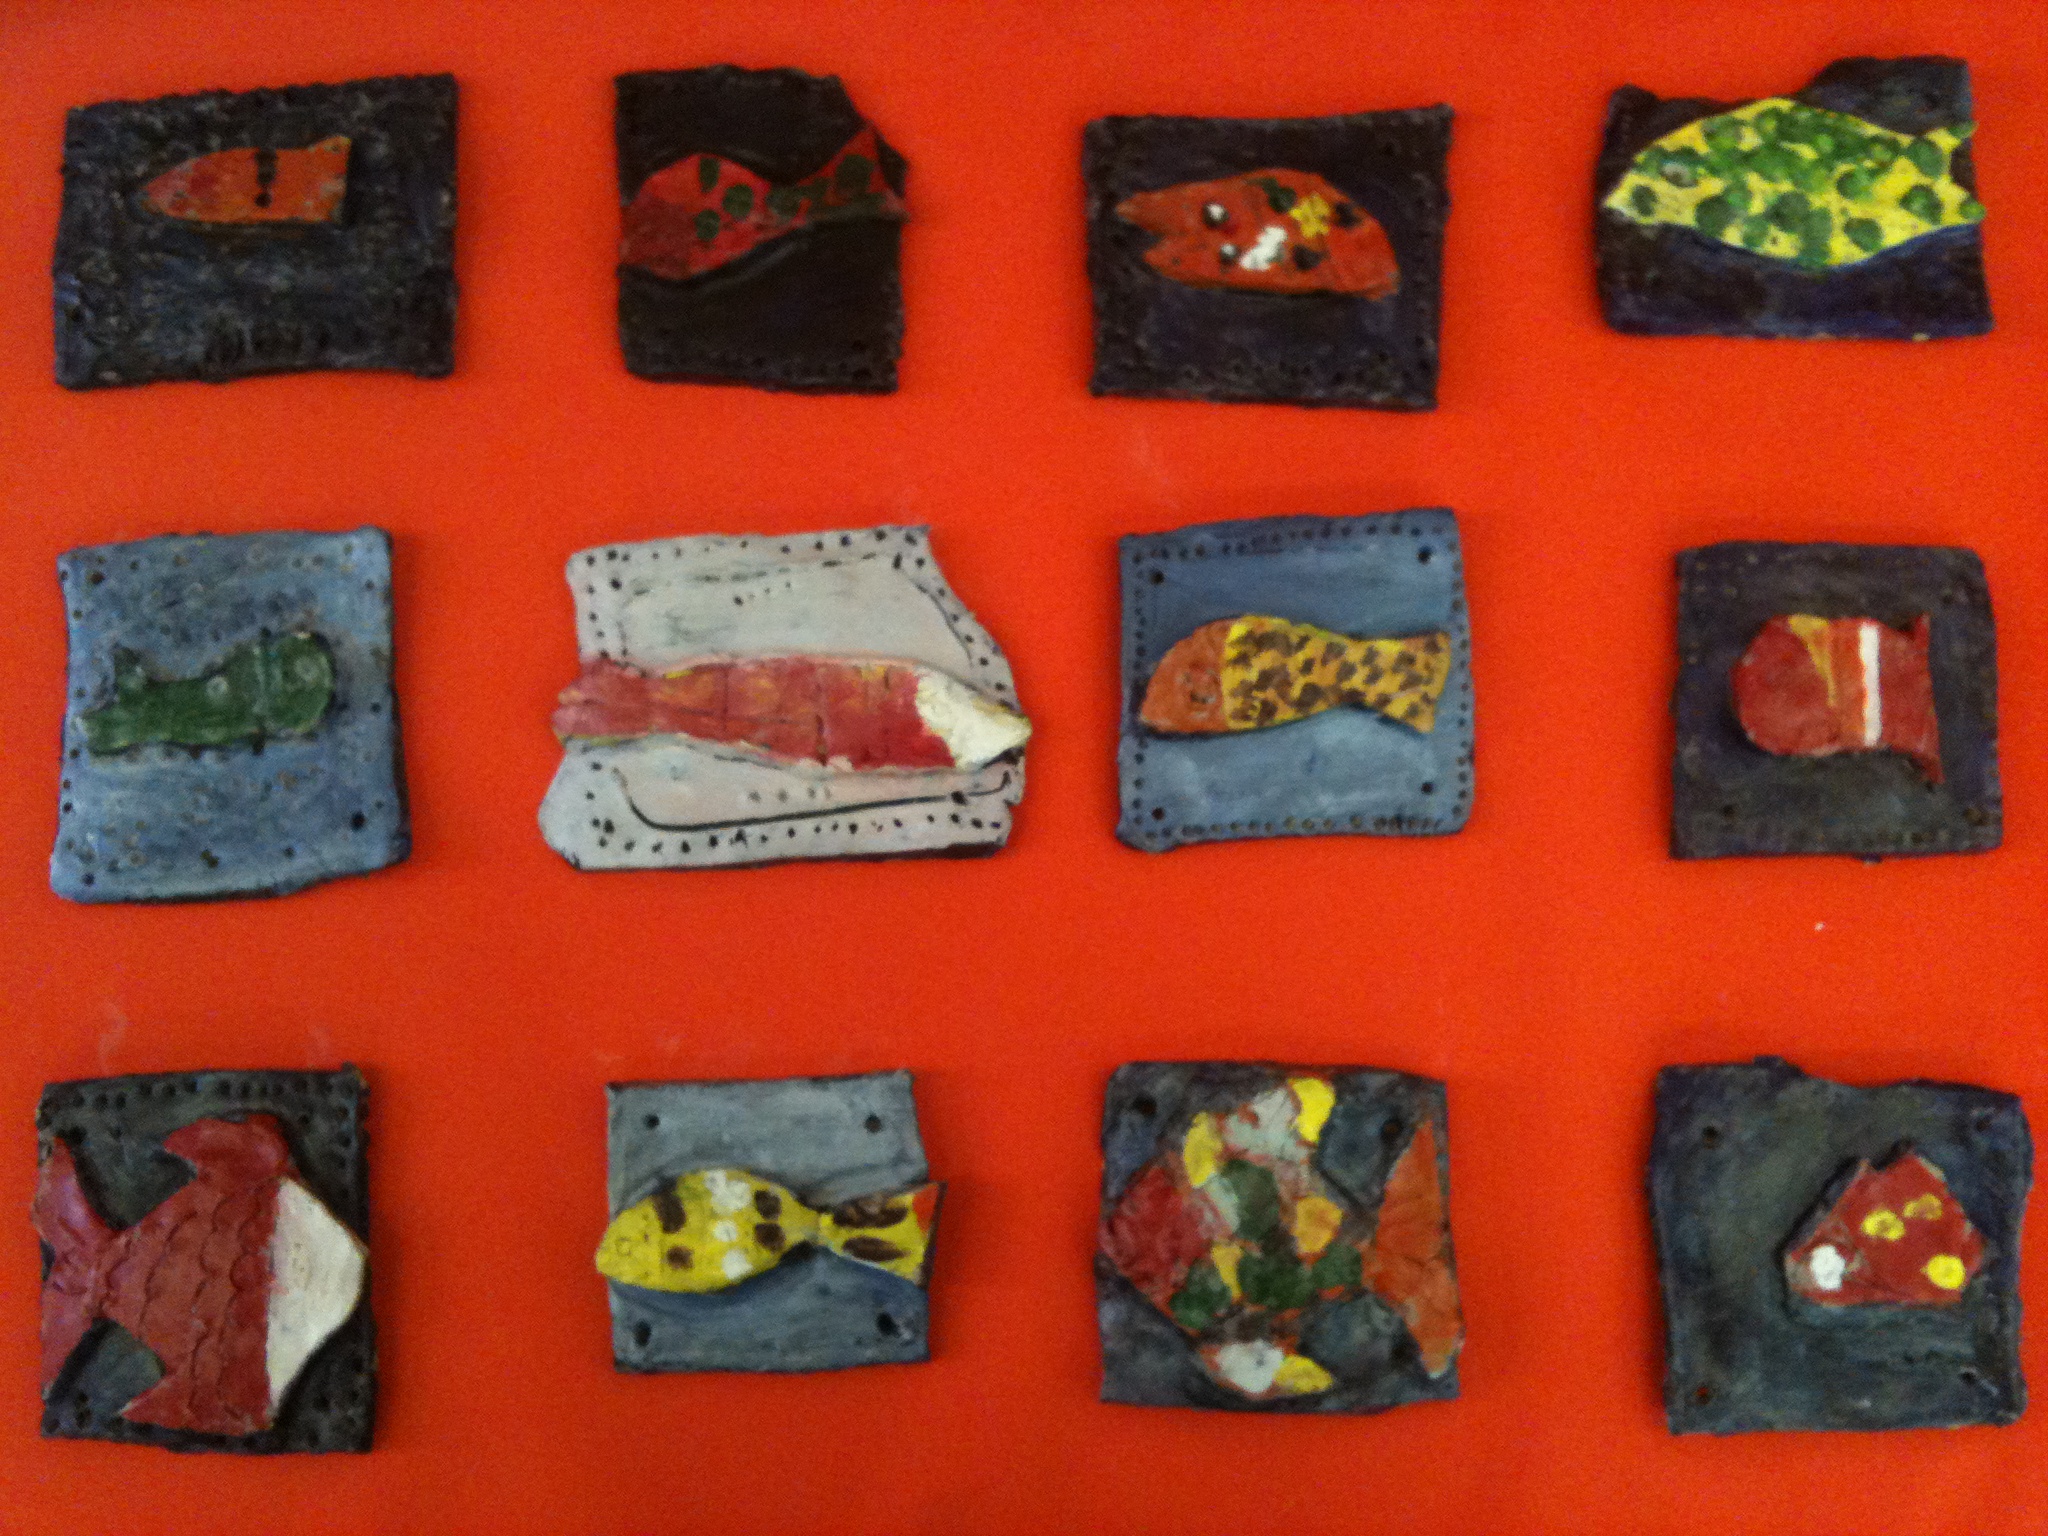
Clay 'Fish' tiles by Year 1
